


 12801
12801
What is Ally and how does it help me?
Ally is a tool that works within Canvas to help your instructors ensure their course content is accessible to all users, in line with the principles of Universal Design of Learning (UDL). When instructors incorporate universal design into their courses, it benefits not only students with specific disabilities but also students without disabilities by expanding the ways everyone can review and absorb course content. Ally scans downloadable items, including Word documents, PDFs, and more, providing a variety of alternative formats for each item. This allows you, the student, to access the course content in the format most user-friendly for your individual accessibility needs or personal preferences.
Available Alternative File Formats
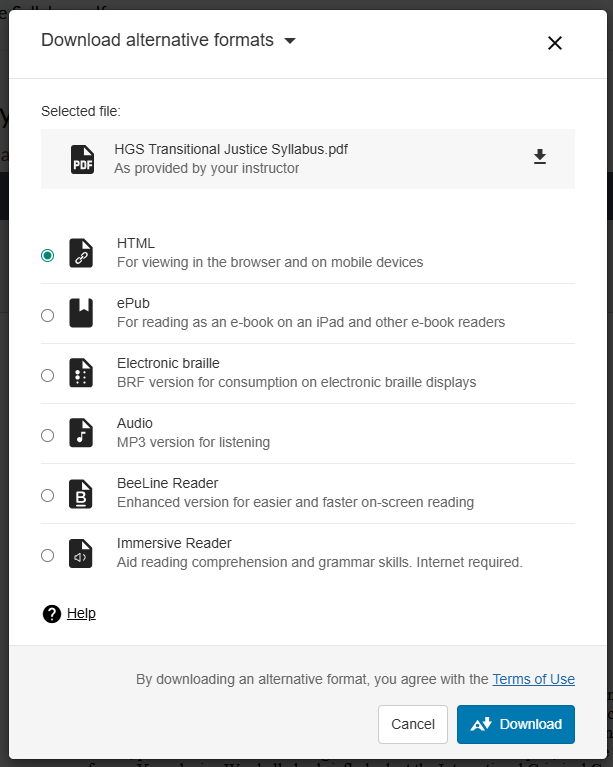
Alternative file formats include:
-
HTML, for viewing in internet browsers and on mobile devices
Note: HTML can be copied into popular note-taking applications like Obsidian, Notion, Capacities, or Roam Research.
- ePub, for reading as an e-book on tablets and other e-book readers
- Electronic braille (BRF), for consumption on electronic braille displays
- Audio, MP3 version for listening
- BeeLine Reader, an enhanced version for easier and faster on-screen reading
- Immersive Reader, to aid reading comprehension and grammar skills (requires internet)
How do I download the accessible formats generated by Ally?
-
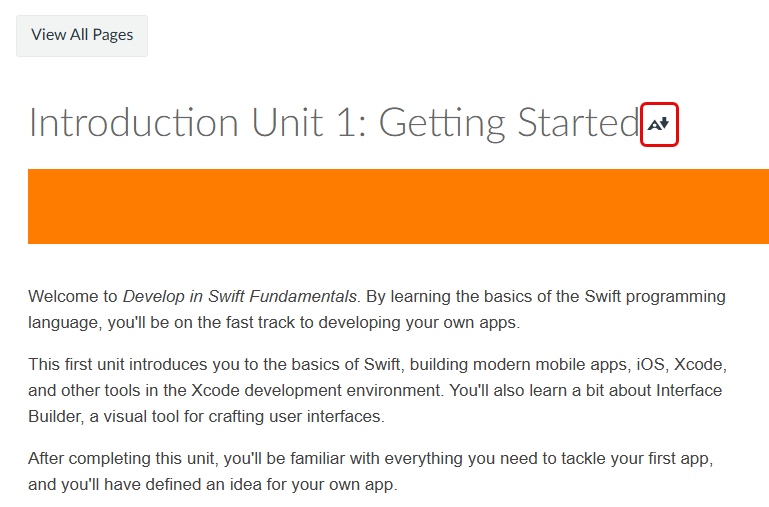
Any time you encounter a downloadable item with an A icon with a downward
arrow next to it, simply click the
downward arrow icon.
If you are accessing an item directly from the Modules page, simply open the downloadable item and select Alternative formats at the top of the page.

-
Select the radio button next to the file format you would
like to download, then click the Download button in the
lower right corner.
- After the file conversion completes, you may be prompted to save the file or open it within a specific program. Specify your preference and click OK


